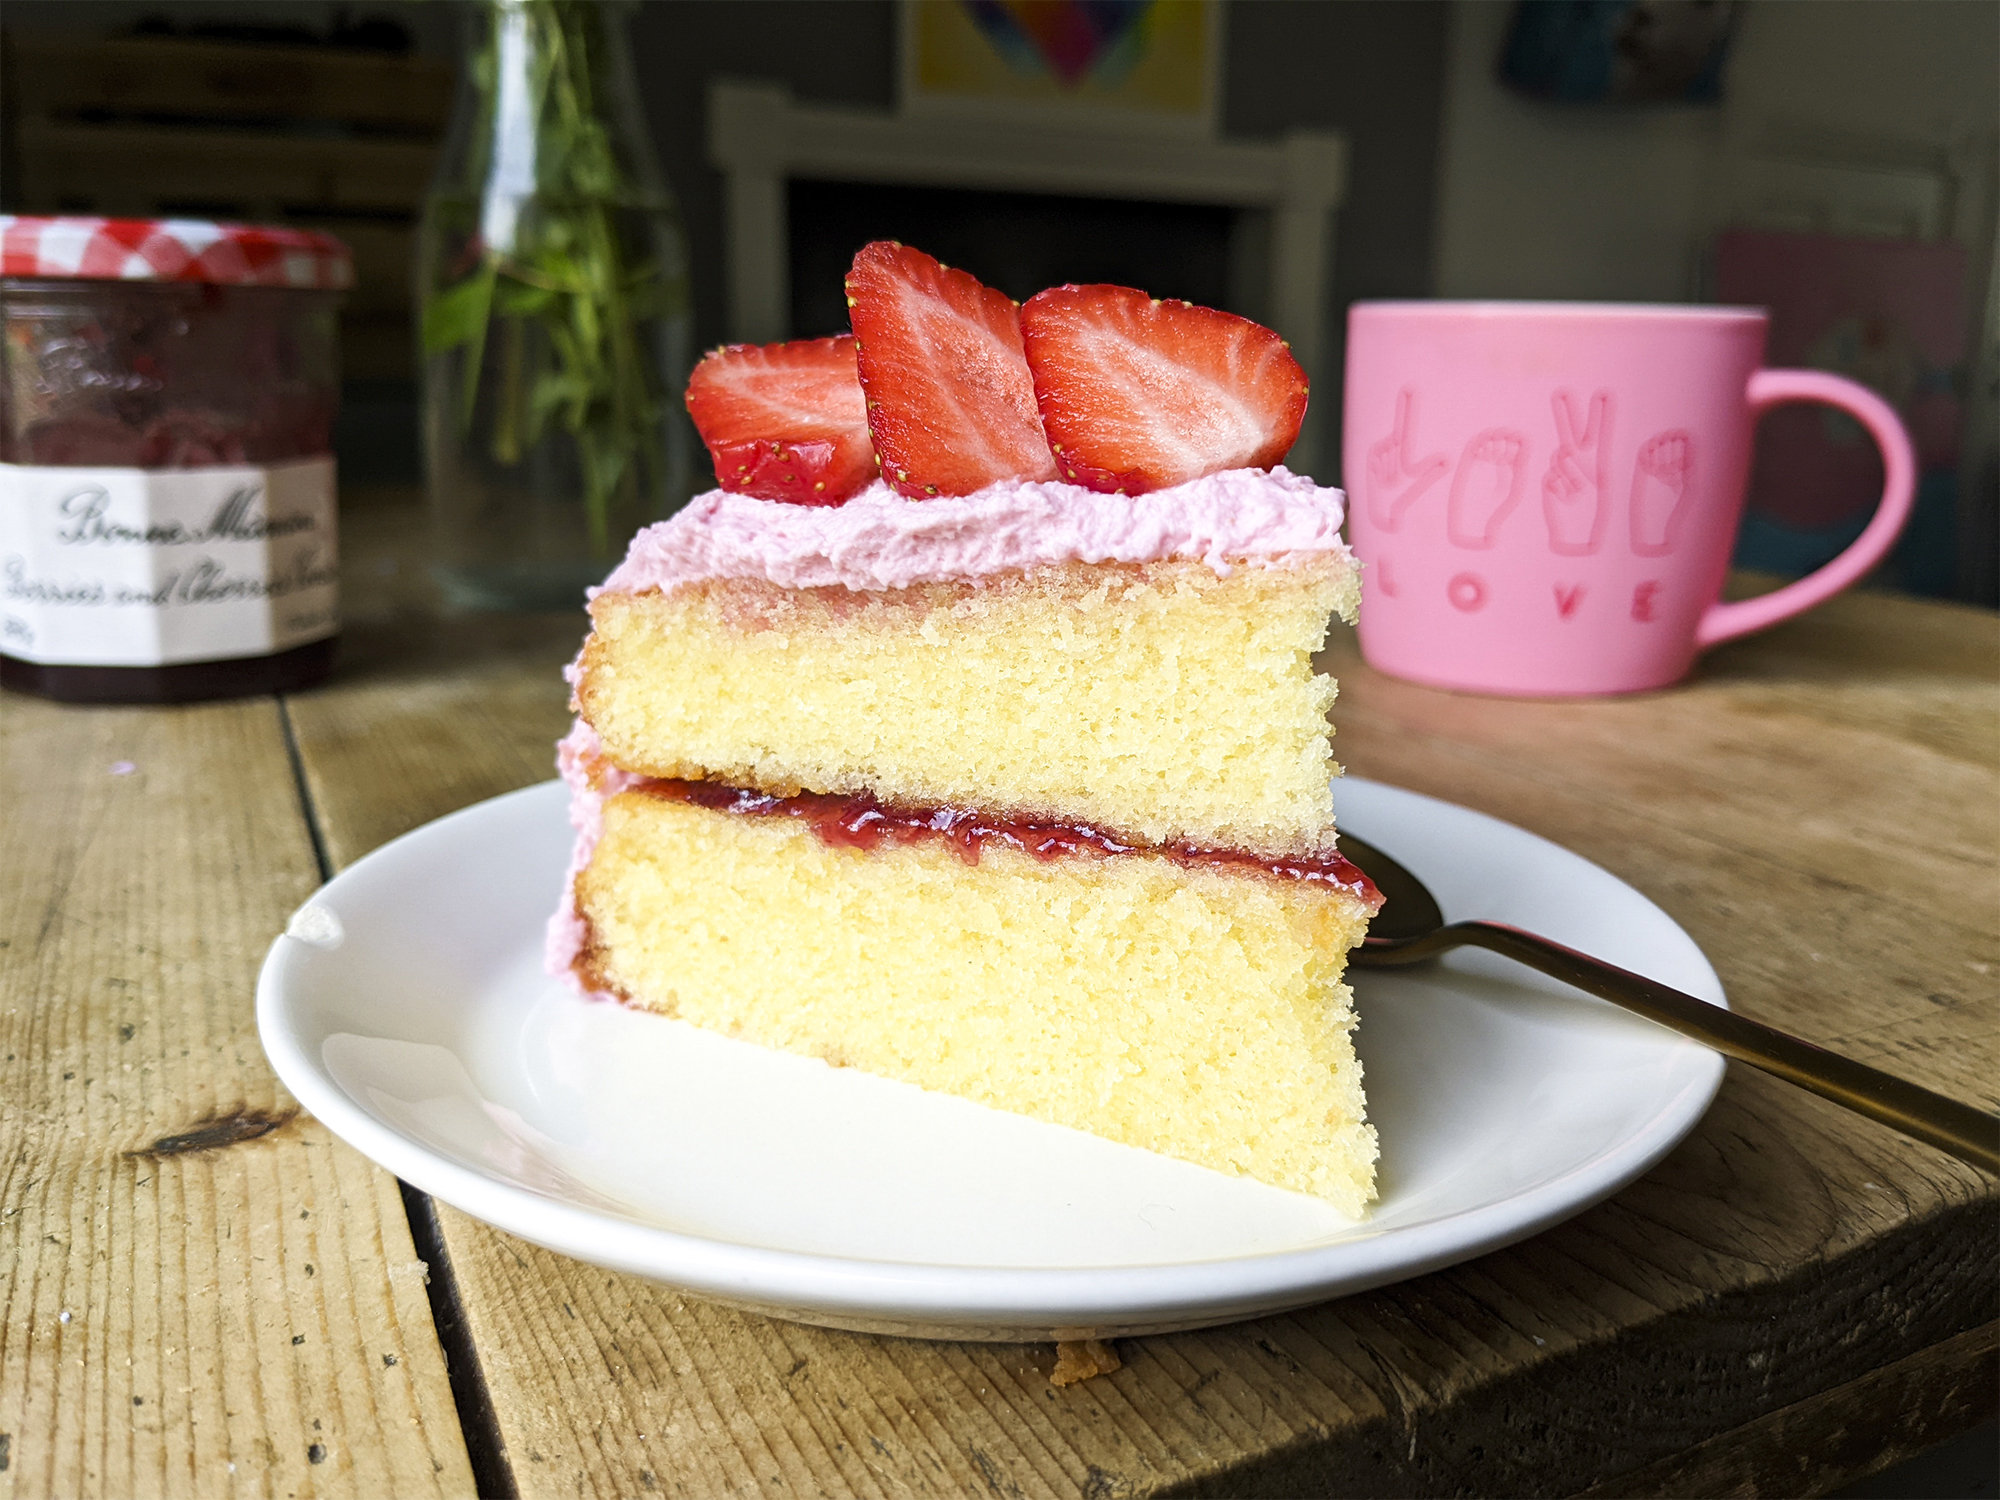
Super quick mini gluten free victoria sponge cakes in a muffin tin. They’re pretty fuss free, only 4 ingredients and basically perfect for when you just want cake without the hassle of creating a beautiful piece of art.
It was my birthday last week and being on lockdown, just my boyfriend and I, I really didn’t see the point in making a full cake. To be honest even in normal times, I rarely bake ‘full on’ overly decorated cakes because it’s just too much food, too many calories to consume between the two of us and it ends up being a waste of ingredients. So we made a mini batch of these cute little cakes instead. The recipe only makes 4 so feel free to multiply it as you wish.
–
UPDATE (08.06.22): I’ve since come up with two sponge cake recipes that I personally believe are SO much better and stay soft and moist for a few days. I highly recommend using my new Victoria sponge recipe (linked below) instead. It can also be made into mini ones. 🙂
MY UPDATED VICTORIA SPONGE RECIPES
MY SOUFFLÉ CHEESECAKE SPONGE RECIPE
–
Tips:
1. Use cake flour instead of all purpose. You can do this by adding cornflour/cornstarch (the type you use to thicken sauces – like this one) to your all purpose flour, which can help make your sponge cake softer and lighter. As a general rule of thumb, for each cup of all purpose flour used, people swap 2 tablespoons for 2 tablespoons for cornflour i.e. you measure one cup, remove 2 tablespoons and replace with 2 tablespoons of cornflour. So in this recipe this adds up to 2 tsp of flour being swapped for each 40g of all purpose flour.
2. Use real butter, if possible. Butter alternatives like margarine contain more water and less fat and it’s that fat in butter that holds the cake together.
3. How to store your cakes: in the fridge, in an airtight container or wrapped up in foil to keep the moisture in. Cakes, especially sponge cakes, have a tendency to dry quickly. It’s best to decorate them as soon as they’ve cooled down and store as soon as possible.
4. MULTIPLY the recipe as needed. This is a very small batch that yields only 4 mini Vitoria sponge cakes.

My mini gluten free Victoria sponge cakes recipe:

- 40g all purpose self-raising flour (I used Doves Farm)
- + ¼ tsp extra baking powder
- 40g sugar
- 40g butter (softened)
- 1 egg
- ¼ tsp xanthan gum
- Use cake flour (to do this, swap 2 tsp of you flour blend for cornflour/cornstarch)
- ½ tsp vanilla extract
- Softened butter
- Icing sugar
- Vanilla extract
- You can use jam or raspberries (whole or mashed)
BAKING TEMPERATURE: 190C (375F)
BAKING TIME: 15-16 mins, until golden brown and springy to the touch

Directions
- Pre-heat the oven to 190C (375F).
- Sieve the flour into a bowl. Note, if you don’t have a sieve or can’t b bothered, it’s not really the end of the world.
- Soften the butter in microwave by heating it up for 5 second increments, stirring in between, until soft.
- Add the sugar, softened butter and egg to the flour and whisk well (or beat with an electric hand mixer on low/medium speed) until light and smooth.
- Grease a non-stick cake or muffin tray (with oil or butter) or line them with paper cases.
- Pour the cake batter evenly in each mould (not all the way to the top – see picture collage). For a mini batch like this, this is equal to 4 cakes.
- Bake on the middle shelf for 15-16 minutes, until golden brown and springy to the touch.
- Take your cakes out of the oven and pop the tray upside down to gently remove the cakes from the cake/muffin tin. If you didn’t use paper cakes, you may need to run a spatula along the edges to help them budge.
- Let your cakes cool upside down on a cooling rack.
- Once the cakes have cooled down, carefully slice them in half with a serrated/bread knife.
- Decorate as you wish. I kept mine simple and fuss free with a layer of vanilla buttercream (softened butter mixed with icing sugar and a touch of vanilla extract) and a good dollop of raspberry jam in the middle + a sprinkle of icing sugar on top.
- As soon as possible, store in an airtight container or the fridge wrapped in foil in order to retain the moisture (see tips section).
Kimi x


