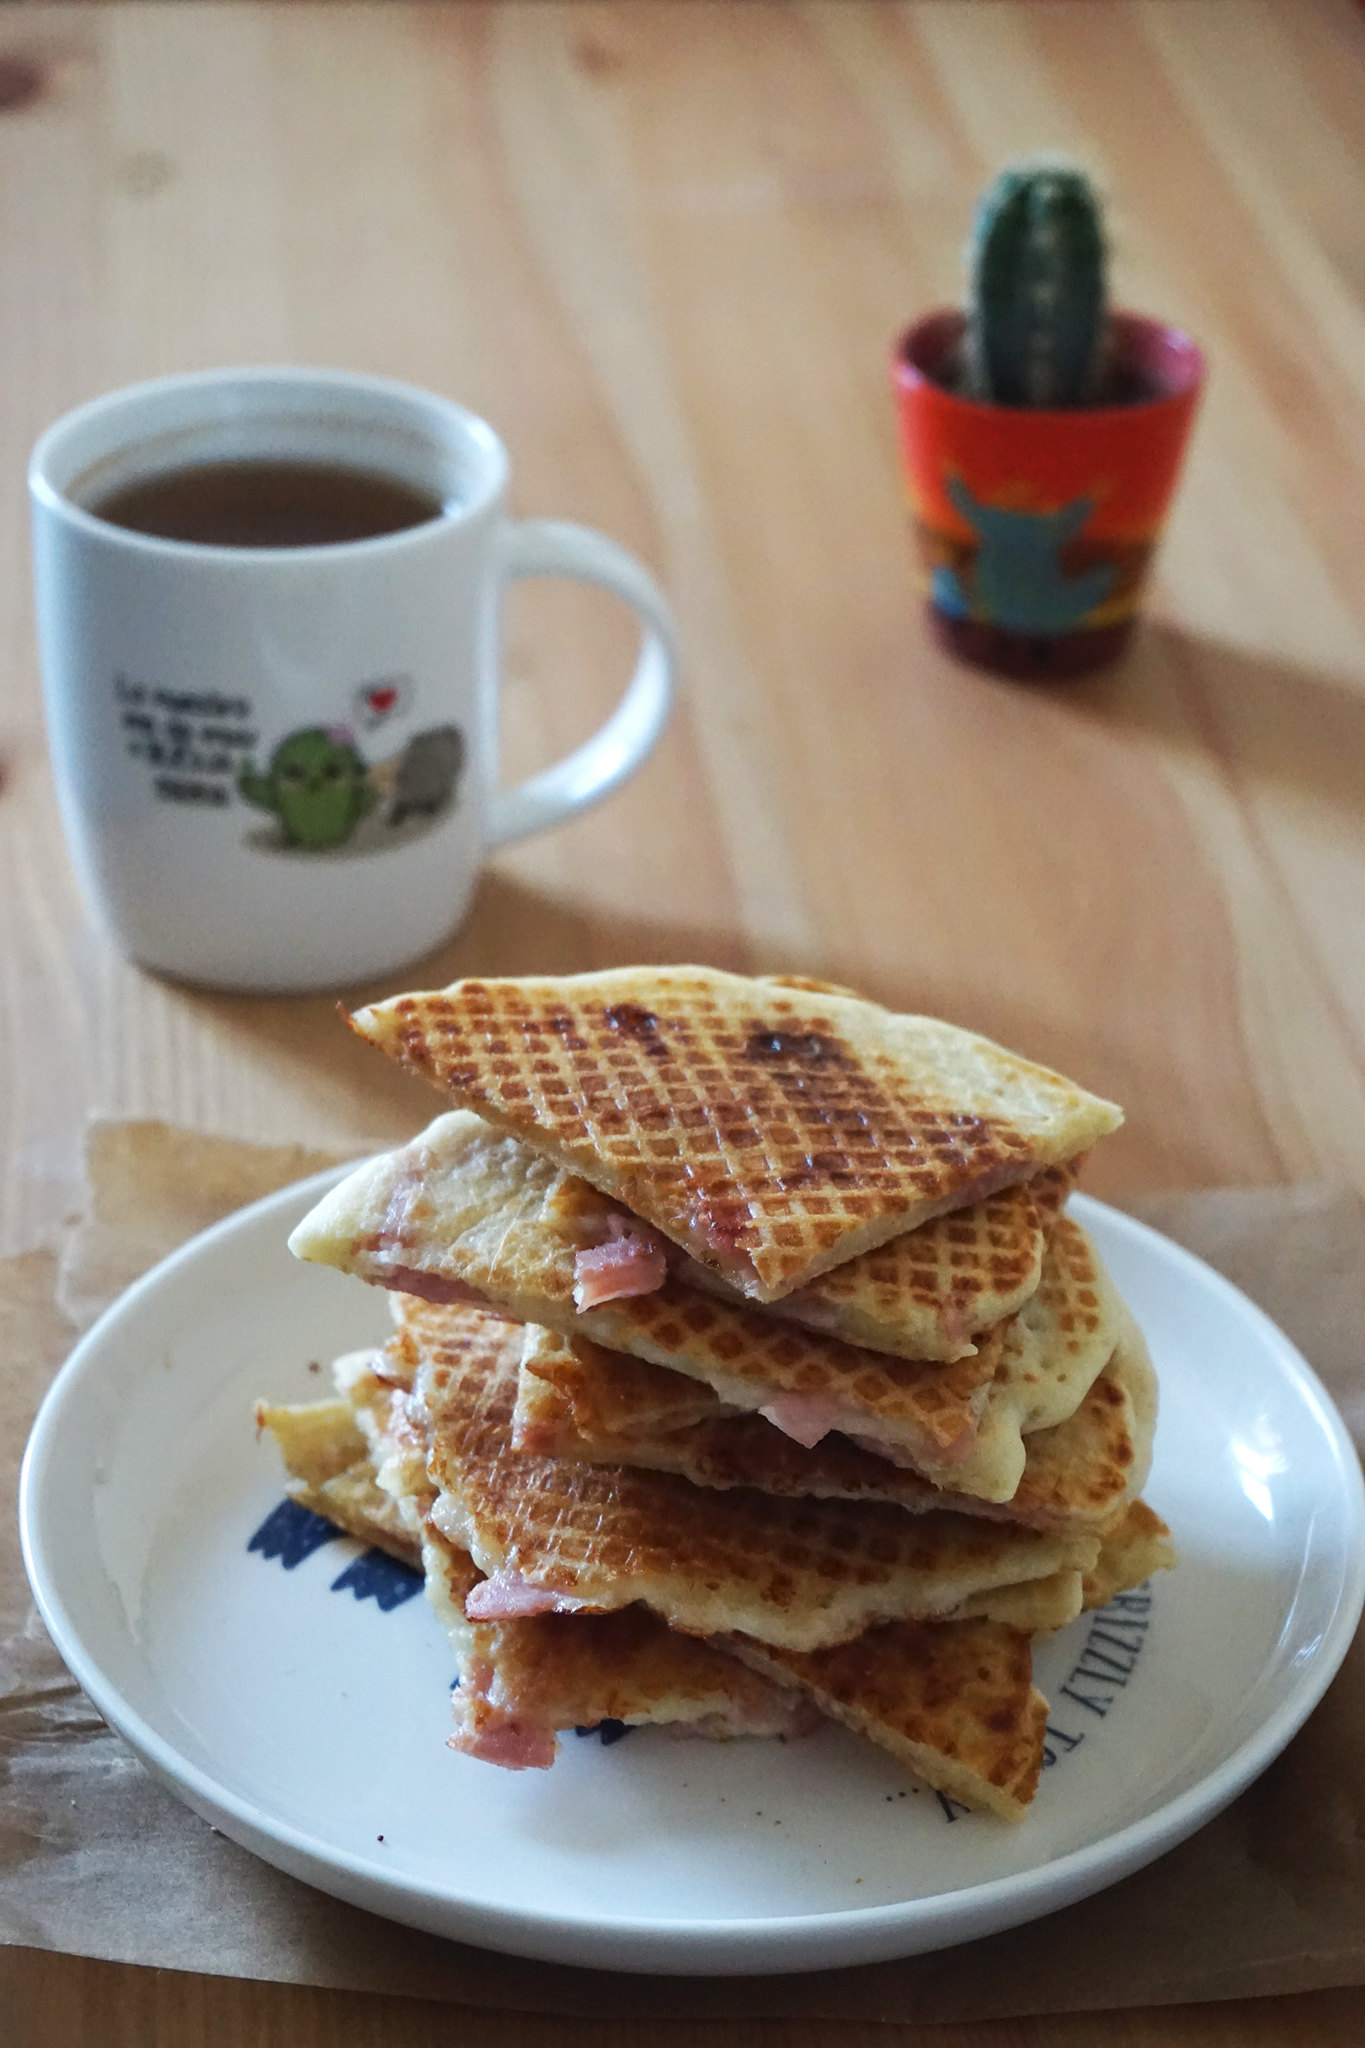
I’m not really sure what these are or what to call them? Imagine a savoury waffle colliding with a toastie and a quesadilla and there you have it! Waffle toasties? But one thing is for sure, they’re amazing!
If you have a thin waffle maker at home – typically used to make ice cream cones or dutch waffles – and you’re like most of us, it’s probably sitting on a shelf collecting dust right now… Because as great as they are, how often do you actually find the time to make either of these!? Like really?
But with a bit of creativity, there is so much more you can make with them. So if you’re looking for ways to get more use out of it (or need an excuse to buy one), the answer is waffle toasties! 🙂
And they’re actually very easy to make. The only bump on the road is having to let the batter rest. But with a bit of pre-planning, you can easily get that step done in the fridge overnight if you don’t have an hour to spare.
What you’ll need:
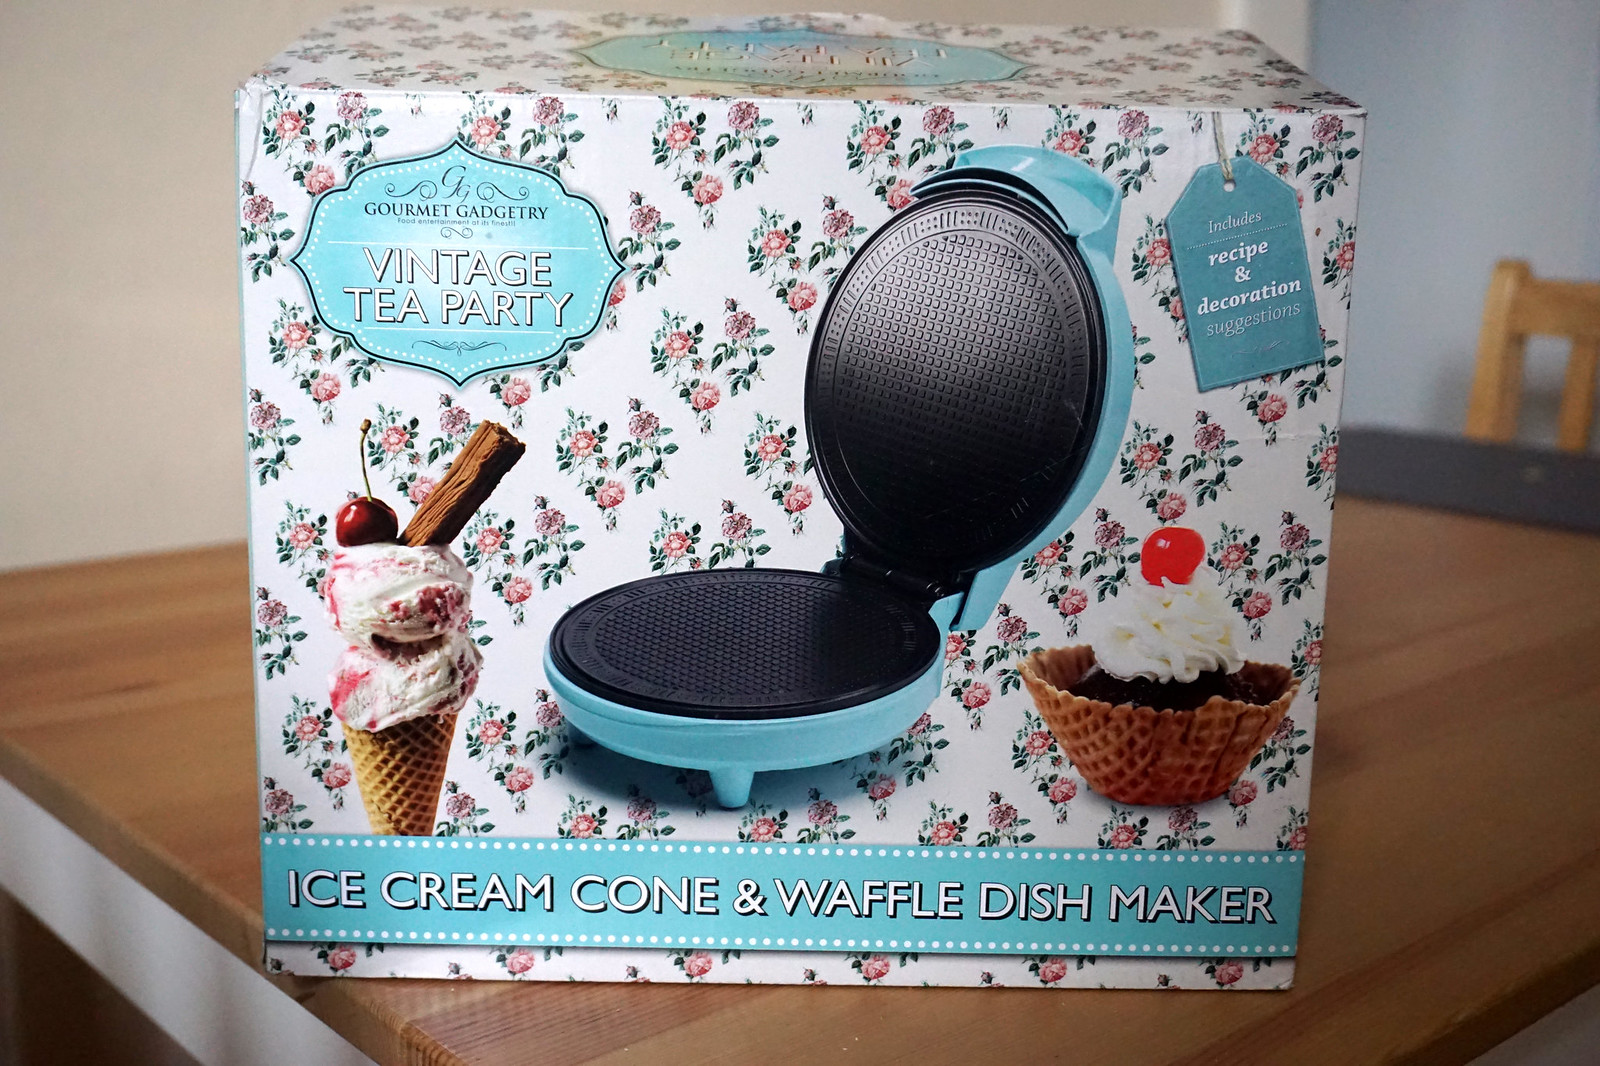
A thin waffle maker. I’m personally using this waffle cone maker by Gourmet Gadgetry (bought in TK Maxx):

Or you can use a normal toastie maker for something closer to bread toasties.
That’s right. Just chuck one layer of waffle batter in a toastie maker, add the filling, add another layer of batter and cook for 8-9 minutes on medium/high heat. It makes the best softest gluten free toasties ever!

Tips for best results:
1. Use yeast. It plays a big role in this recipe both in terms of texture, flavour and the quantity of batter you end up with. It gives it more of a bready feel too and won’t be the same without.
2. Don’t skip the resting time. This is important for the yeast to take action, i.e. the batter to rise and become airy. It also allows the flour to absorb the liquid and produce a better, softer texture. So it’s good to let the batter rest even without using yeast.
3. Don’t add too much batter. When making the waffle toasties, make each layer (top and bottom) no more than half a ladle of batter. It spreads quite thinly and can be deceiving. Too much will make them overflow.

Gluten free waffle toasties recipe:
Preparation time: 5 mins
Resting time: 1 hour (in a warm place) or overnight (in the fridge)
Cooking time: 4-5 minutes each
Yields: 2-3 waffle toasties (8-12 slices)
Calories (per waffle toastie / 4 slices): 200 to 300
Ingredients
- 1/2 cup / 95g gluten free self-raising flour blend (I used Doves Farm)
- 1/2 tsp / 3g baking powder
- 1 tsp / 5g dry active yeast (I used Allinson)
- 1 tsp / 7g sugar
- Pinch of salt
- 1 medium egg / 50g
- 100ml milk
- 2 tsp / 15g butter (melted)
+ Toppings of your choice; I used ham and shredded mozzarella.
Note: the flour blend I’m using already contains raising agents and has added xanthan gum. If using a plain flour blend, add 1 tsp xanthan gum and 1 tsp baking powder to compensate.
Directions
- Mix the flour, baking powder, yeast, salt and sugar in a mixing bowl. Note: as well as xanthan gum if necessary (see note above).
- Melt the butter in 10 seconds increments in the microwave.
- Add the egg, milk and melted butter and mix until you reach a smooth batter.
- Loosely cover the bowl with cling film and let the batter rest in a warm place for about 1 hour (or overnight in the fridge), until it has almost doubled up in size. Note: don’t skip this step as it’s needed for the yeast to take action.
- Once the dough is ready, heat up and grease your waffle cone maker with cooking oil spray or oil.
- Add some batter in the centre and spread a bit, add fillings of your choice on top and then cover with another layer of batter. Note: be careful not to overdo the batter (I used maximum half a ladle for each layer, top and and bottom) as it spreads quite a bit (and will overflow if you put too much).
- Close the waffle maker and press until you reach the desired thickness and cook for 4-5 minutes.
- Slice and enjoy!

Enjoy!
–


